Trending

Bare-root apple trees arrive looking like a bundle of sticks with a straggly beard of roots, and it is hard not to wonder whether you have been sold a dud. You haven't. A tree lifted from the nursery bed in autumn and back in the ground within days settles far better than a pot-grown specimen that has spent two years circling a plastic pot, and it costs a good deal less. Plant it well this winter and it will crop for years to come.
The bare-root season runs from leaf fall in November to bud burst in March. November is the sweet spot: the soil is still holding some warmth from summer, so roots get a head start before the cold shuts growth down. December through February is fine too, provided the ground is not frozen, snow-covered or sitting in standing water.
That last point matters more than most people realise. Planting into a waterlogged hole is the quickest way to kill a young apple tree, because the roots simply rot. If your soil is sodden when the tree arrives, stand it in a pot of damp compost somewhere sheltered, or heel it in temporarily by laying it at an angle in a spare patch of ground and covering the roots with soil. It will keep for several weeks that way. Never let bare roots dry out — keep them wrapped in a damp sack while you dig.
This is the decision that determines whether your tree ends up a manageable 2m specimen or a 5m monster that shades the whole garden. The variety grafted on top gives you the fruit; the rootstock, which is the root system and the first few centimetres of trunk, controls vigour.
Allow roughly 2.5m between dwarf trees and 4m or more between semi-vigorous ones, and keep them clear of fences and boundaries.
Pollination is the other thing to sort out before you order. Most apples need a partner that flowers at the same time, so check the flowering group — these are numbered, usually one to six — and pick a variety in the same group or an adjacent one. Triploids such as Bramley's Seedling cannot pollinate anything, including themselves, and need two compatible partners nearby. A crab apple such as 'Golden Hornet' or 'John Downie' flowers over a long period and will pollinate almost anything. If your neighbours grow apples, you may already be covered.
Dig over an area a metre across rather than cutting a neat, snug hole. Then dig the planting hole itself wider than it is deep — two or three times the spread of the roots — and fork the sides and base to break up any pan. In heavy clay, a spade-smoothed hole acts like a plant pot and the roots never leave it.
Depth is easy to get wrong, so measure. The tree should sit so that the original soil mark on the trunk ends up level with the surrounding ground. The graft union, the knobbly joint where the variety meets the rootstock, should finish a hand's width or so above soil level. If you are in any doubt, plant slightly high and mound soil around the base; a tree planted too deep will sulk for years.
Resist the urge to fill the hole with rich compost or fertiliser. A pocket of luxury in an otherwise ordinary garden encourages roots to circle rather than spread. Keep the backfill plain and save the well-rotted manure for a mulch on top.
A young apple tree's worst enemies are competition, drought and careless pruning, in that order.
Planting a bare-root apple is a half-hour job with a very long tail. Get the depth right, firm the soil properly, keep the ground around it clear and wet for the first two summers, and you will have done the hard part. After that, most of the work is pruning and picking. If you can, plant in November — you will spend the spring watching buds break instead of wondering whether it took.
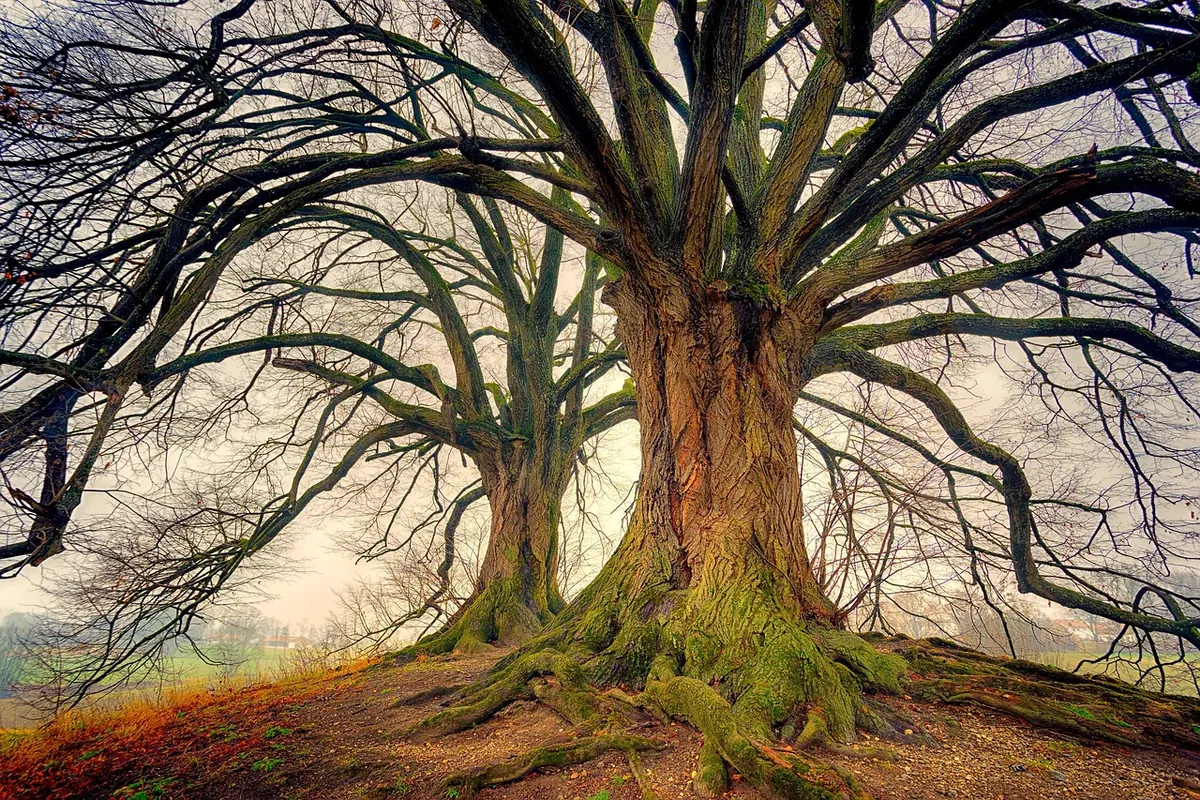
Photo: jplenio / Pixabay