Trending

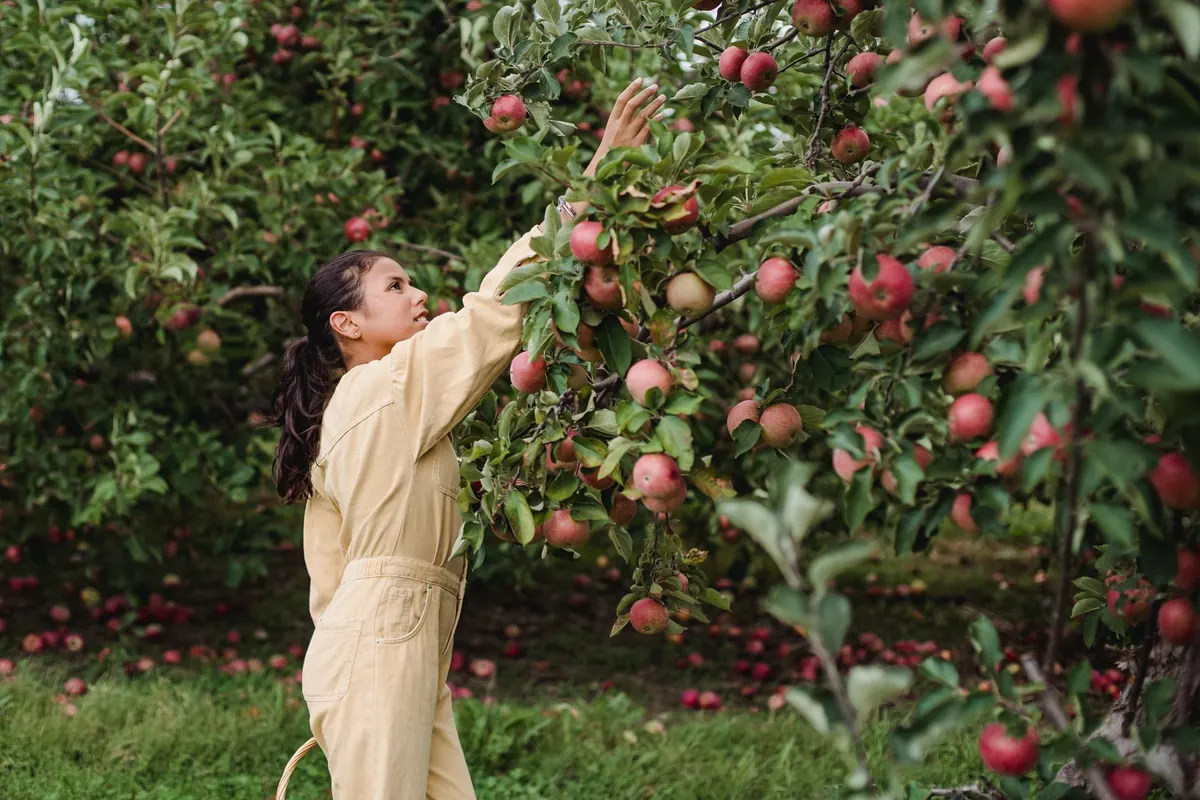
For a fortnight or so each autumn, the orchard seems to hold its breath. The apples are full-sized, the wasps have found them, and every gust of wind sends one or two thudding onto the grass. That is the moment to start paying attention, because the difference between a crisp apple and a woolly one is often a matter of days.
Picking too early is the most common mistake. An underripe apple will not improve much once it is off the tree; it simply softens, loses flavour and keeps badly. An overripe one goes mealy in the bowl. Read several signals together rather than trusting any single one, and always test a few apples before you commit the whole tree.
Nearly everyone judges an apple by its colour, and nearly everyone gets it wrong in the same way. The red or pink flush on the sunny side is a variety characteristic, not a ripeness signal. A Discovery can be deep crimson and still hard as a cricket ball.
The reliable change is in the ground colour: the background shade of the skin where the sun has not coloured it. On most varieties this shifts from a flat, grassy green to something paler, yellow-green, cream or pale gold. Check near the stalk end and on the shaded side of apples in the middle of the canopy, where ripening runs slightly behind the top of the tree.
Russets such as Egremont Russet are the exception, since their skin is brown from the start. Look instead at the small patch of un-russeted skin around the stalk cavity, which turns from green to yellow.
The obvious test is also the best one. Pick a likely looking apple, cut a slice from the sunny side and chew it. An apple at peak ripeness tastes sweet with a clean acidity behind it, and the flesh is crisp and juicy. Too early, and it is sharp, starchy and dry, sometimes with a green, grassy note. Too late, and the sweetness has gone flat while the flesh feels soft, grainy or faintly floury.
If you are picking cookers, you want something firmer and sharper than you would enjoy raw. Bramleys in particular should still be hard and bracingly acidic when you pick them; the flavour mellows considerably in store.
Cut an apple in half across the middle, not top to bottom, and look at the seeds. As fruit ripens they change from pale cream to mid-brown and finally to dark brown or near black. Dark seeds are a good confirmation that the tree is ready.
Treat this as supporting evidence rather than the final word. Early varieties often still have pale seeds when they are perfectly ripe, while late keepers go almost black. If you want to be more scientific, cut a thin slice and dab it with iodine solution: the flesh of an unripe apple stains blue-black because of its starch, while a ripe apple stains much less.
Watch the ground beneath the tree. When a few sound, unblemished apples start falling of their own accord, the tree is telling you it is ready. Windfalls that are bruised, pecked or riddled with codling moth do not count; they may have dropped for other reasons entirely.
Then try the physical test. Cup an apple in your palm, lift it slightly and twist. A ripe apple comes away easily with the stalk still attached, leaving a clean cavity on the spur. If it takes a real tug, or the stalk pulls out and leaves the apple behind, give it a few more days.
Work around the tree and test several apples from different sides. Ripening is rarely uniform, so most trees are best picked in two or three passes over a week or two, taking the ripest fruit first.
Pick on a dry day if you can, and in the morning while the fruit is cool if it is destined for storage. Cup the apple in your palm and roll it upwards rather than pulling straight down, which can snap the spur and cost you next year's crop. Keep the stalk intact, and lower each apple gently into a basket lined with cloth rather than letting it drop.
Sort as you go. Perfect fruit goes into store, bruised fruit goes into the kitchen for immediate use, and anything damaged goes onto the compost. Early varieties such as Discovery will not keep for long, so eat them within a week or two. Later keepers last for months in a cool, dark, frost-free place, laid in trays so the fruit do not touch. Check them regularly and remove any that start to rot, since one bad apple really does spoil the rest.
From late August onwards, take a walk around your trees every couple of days with a pocket knife and a basket. Cut one apple, look at the seeds, taste a slice, check the ground colour and try the twist. When two or three of those signs agree, start picking, and come back for the rest as they catch up. Taste as you go, note the dates in a notebook, and within a season or two you will know exactly when each tree in your orchard is at its best.
Photo: Zen Chung / Pexels